This web page screenshot is taken from one of the following links:
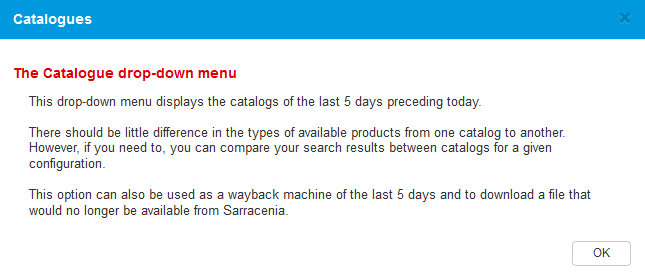
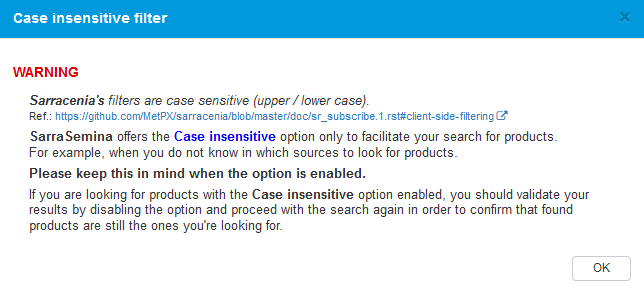
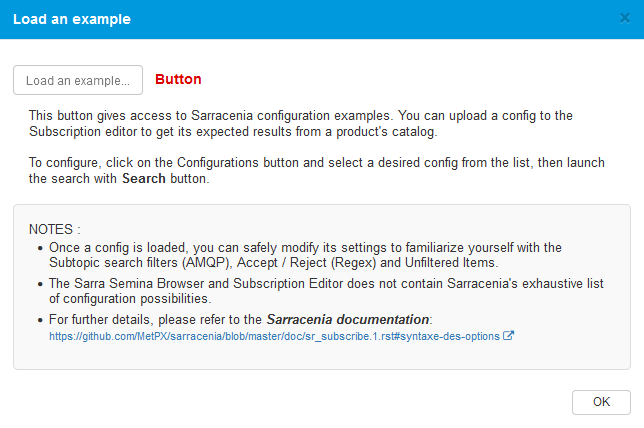
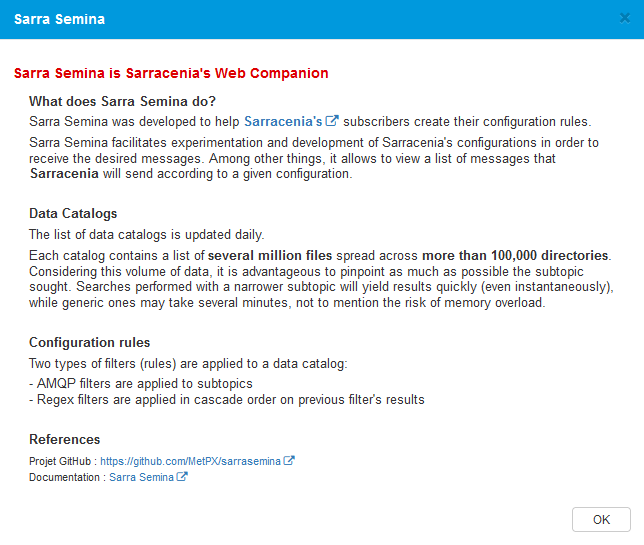
This dialog contains three access links:
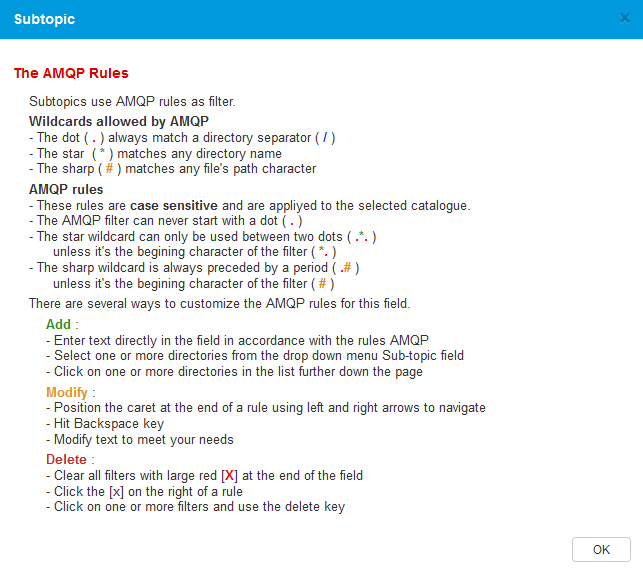
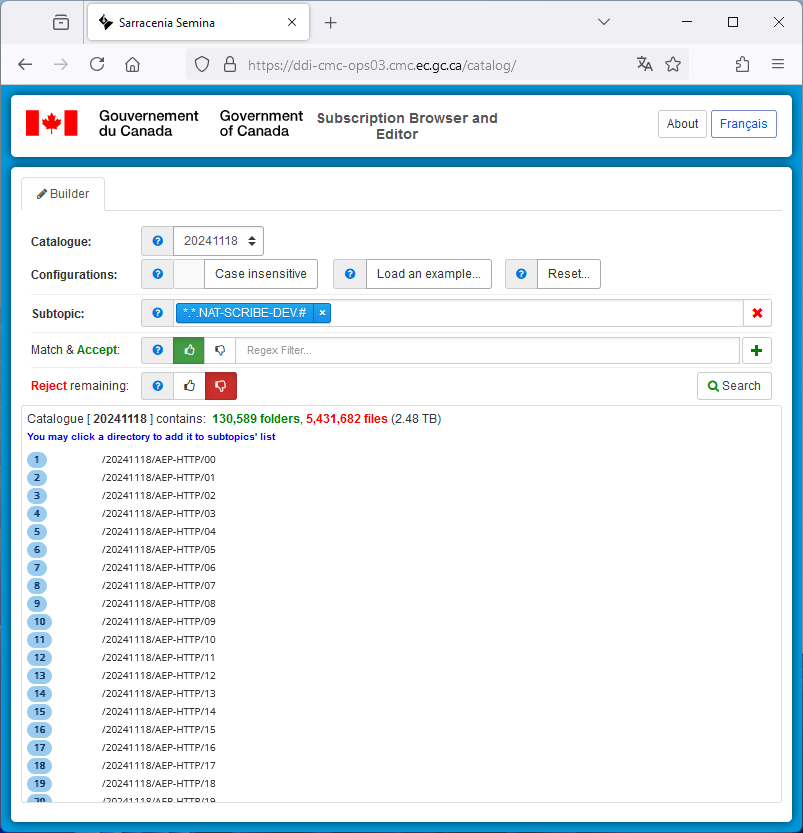
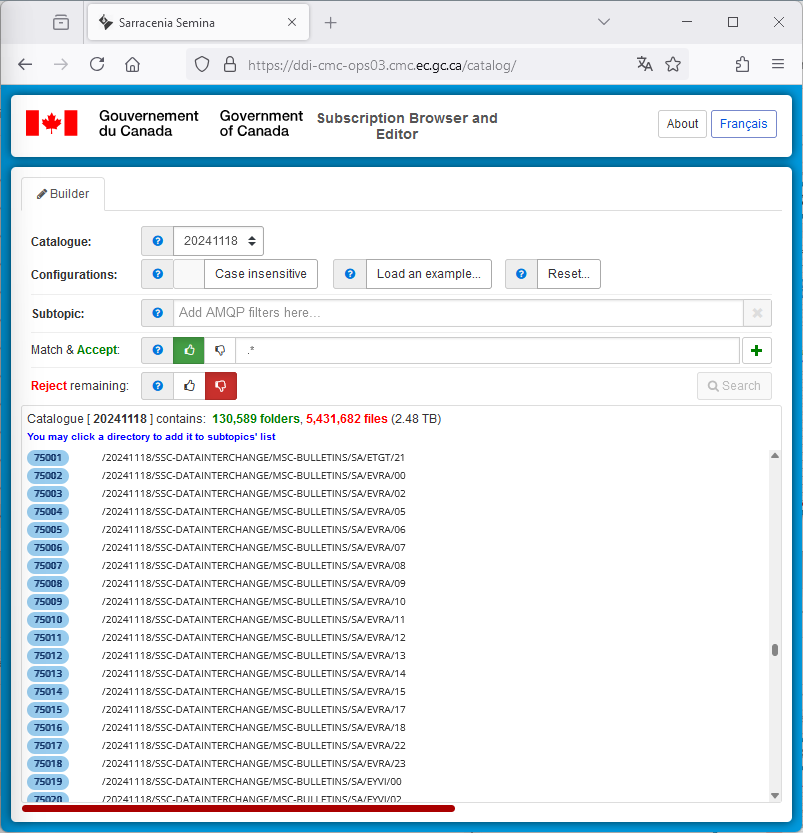
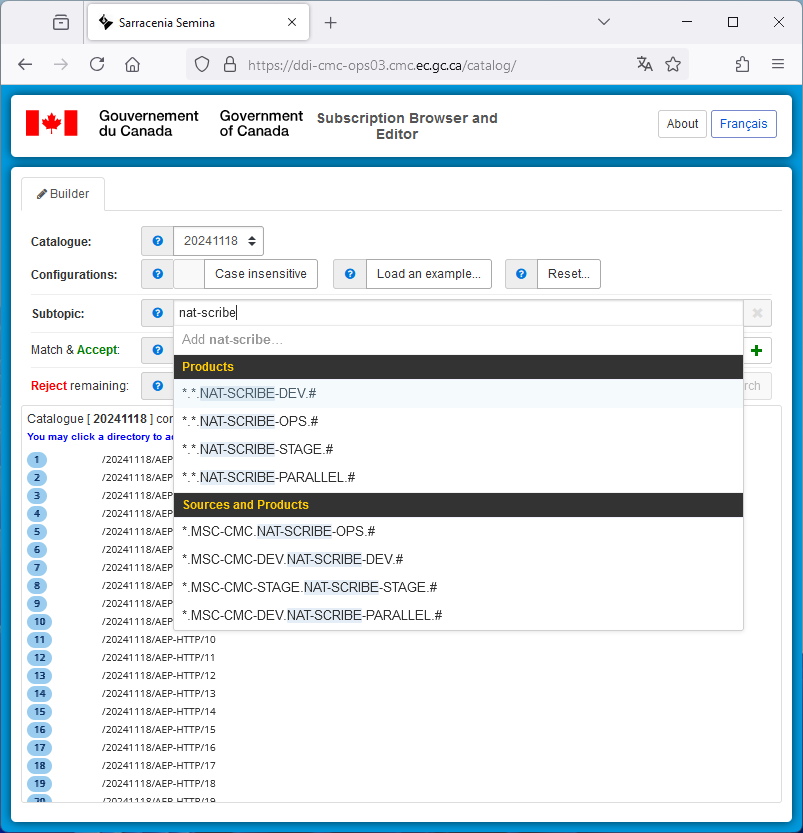
In the Subtopic field, information can be added in different ways:
When entering text, a drop-down menu appears, displaying the sub-topics in the list corresponding to the text.
You can then navigate through the list using the up and down arrows, then select a sub-topic using a carriage return or by clicking on a subtopic.
Note that it is possible to add several subtopics to this field.
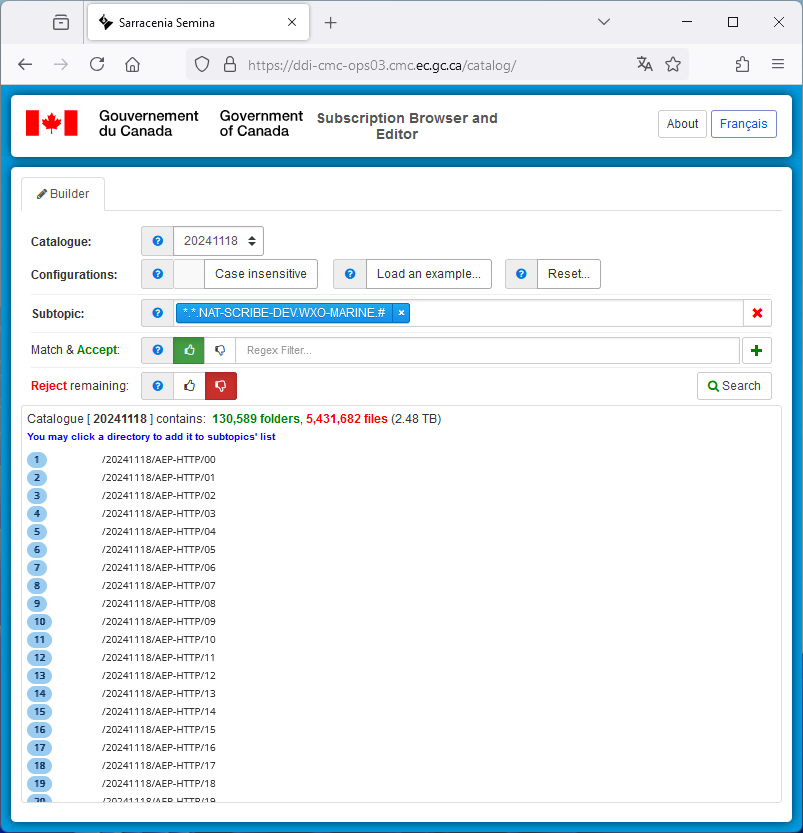
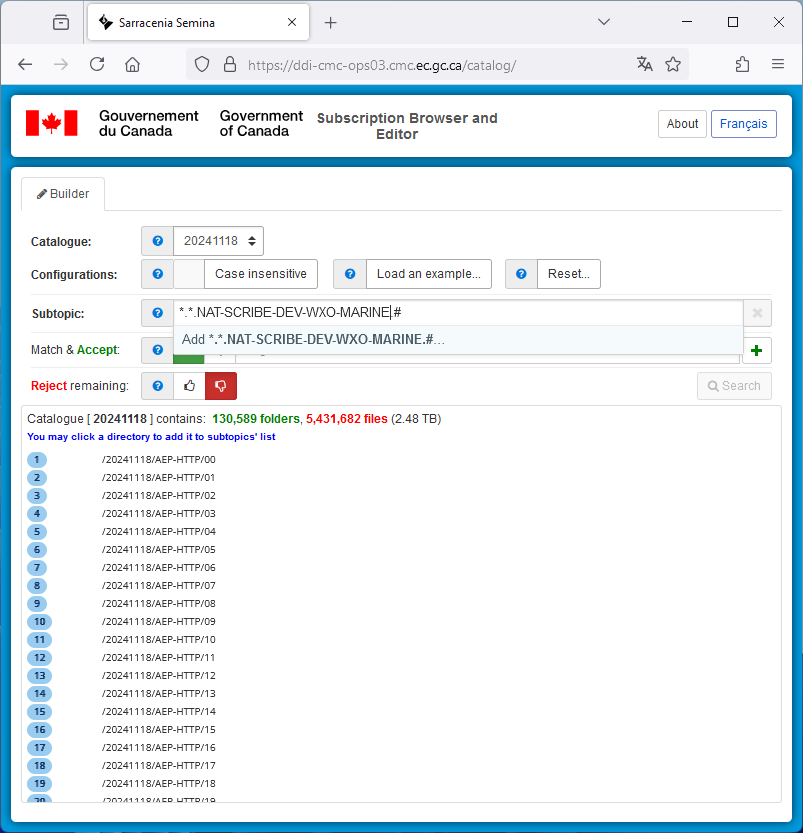
Once a subtopic has been selected, it is possible to modify it again.
To enter into editing mode, place the cursor at the end of the blue subtopic, then press the backspace key.
You can then modify the subtopic and, once it corresponds to the one you want, press the carriage return key to register it.
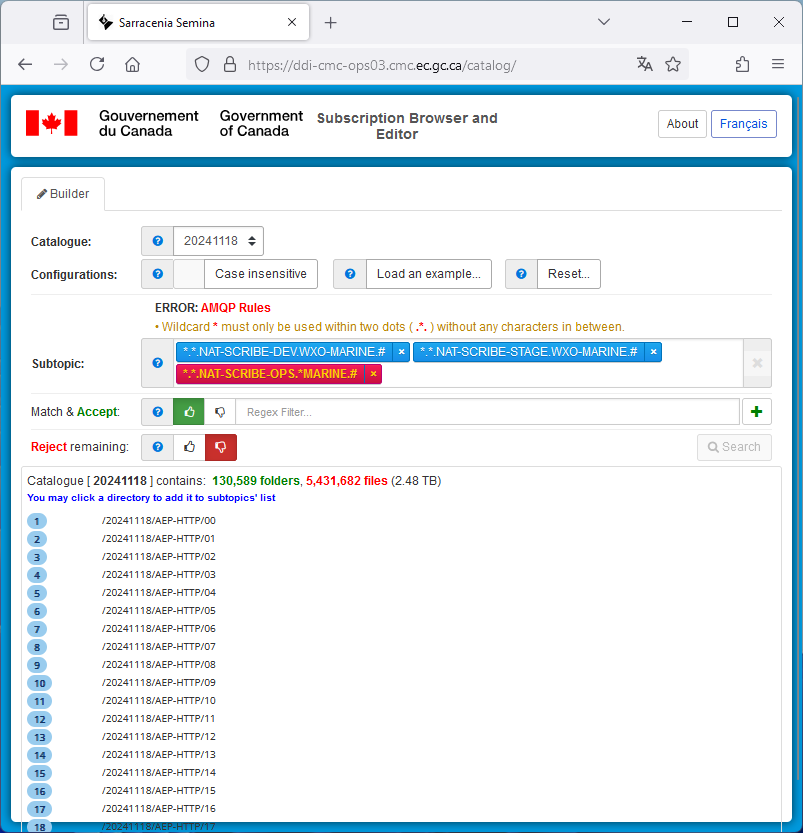
Occasionally, a mistake can slip through during editing. SarraSemina will highlight the subtopic in error with a reminder of the AMQP rules.
As with editing, the subtopic in error can be corrected by placing the cursor at the end of it and pressing the backspace key.
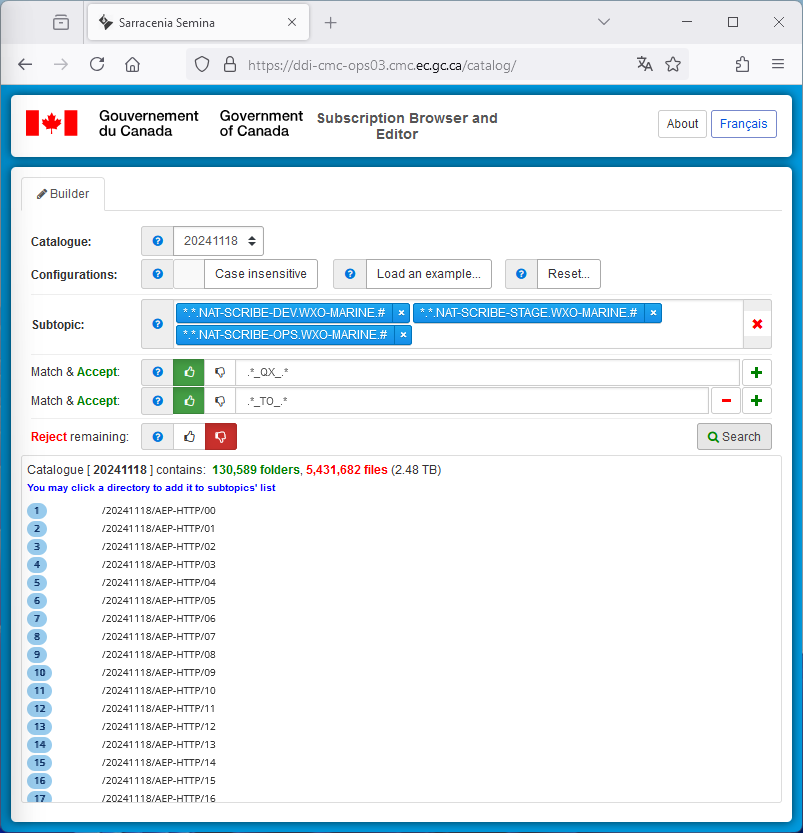
Once the fix is done, the subtopic will appear normally.
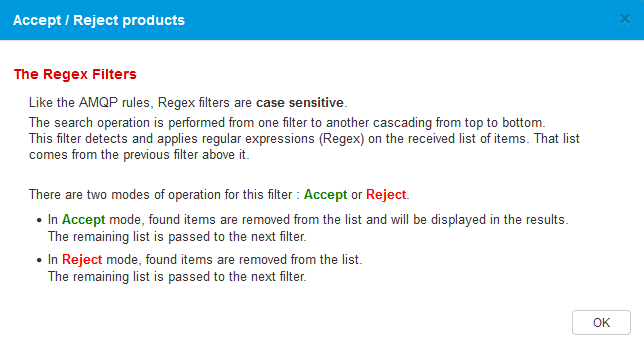
To add an “accepts”, simply enter a Regex rule in the “ Match & Accept ” field.
Multiple accepts can be added by clicking on the button at the end of the field.
Once the fields in the
Editor tab
have been filled in as required, click on the
Search
button to display the search results.
Once the search has been completed, three new tabs will appear on the screen:
Configuration, Folders et Files.
Any by default, the Configuration tab will be automatically selected.
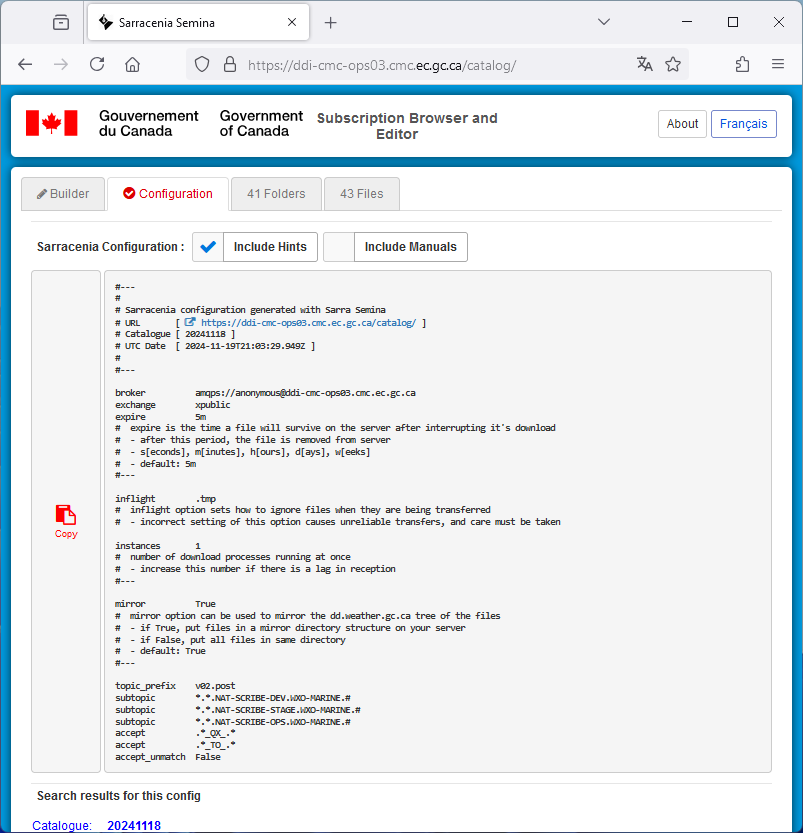
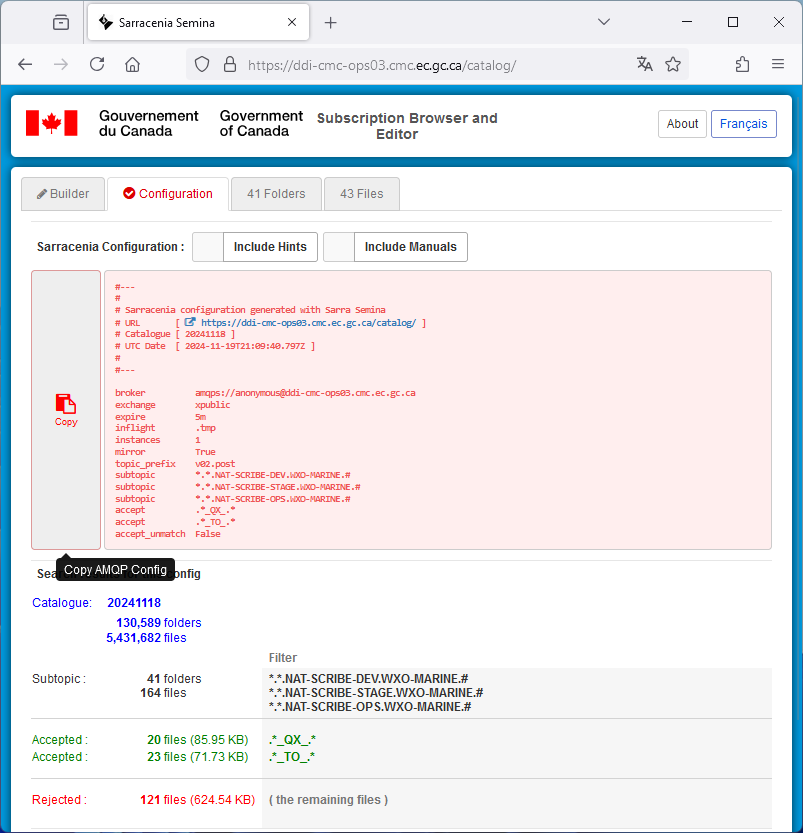
When the search is complete, three new tabs appear (Configuration, Directories and Files) and the Configuration tab is selected by default.
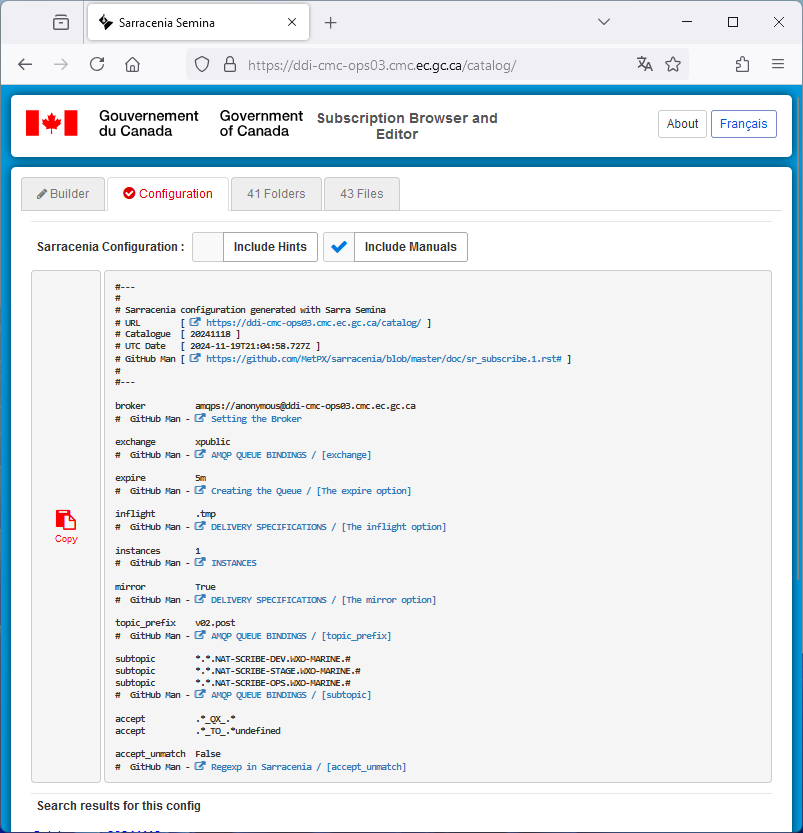
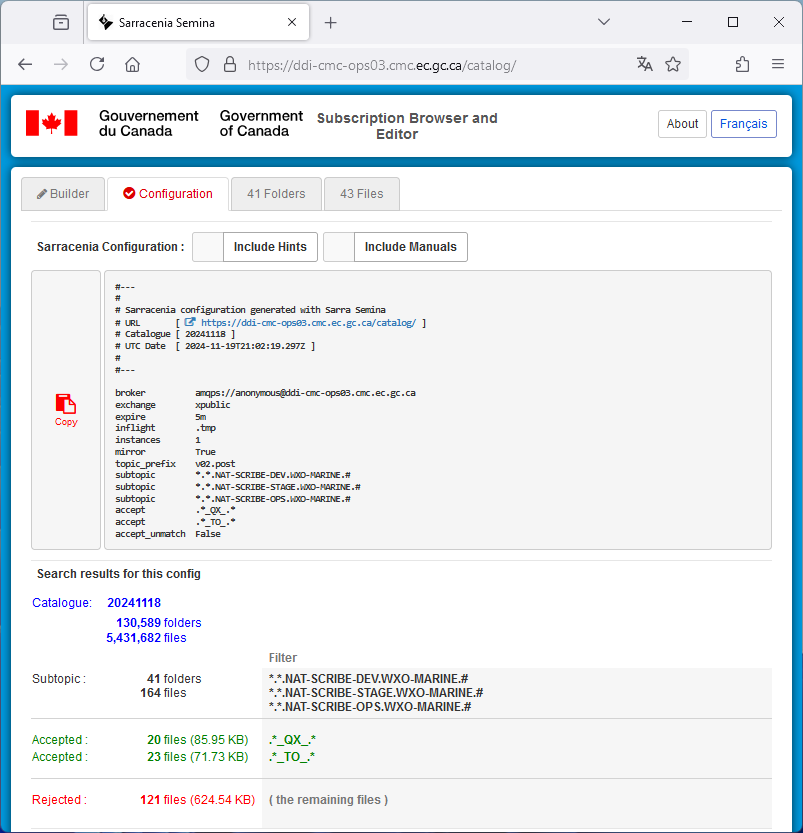
This tab displays a basic sr_subscribe (v2) configuration without any elaborate options.
The upper part displays the configuration generated according to the information entered in the " Editor" tab.
The lower part displays the search results for this configuration applied to the chosen catalog (here 20241118).
NOTE
An upgrade to sr3 with more elaborate configurations (flow, poll, sarra, sender, watch etc.) would be more than welcome!
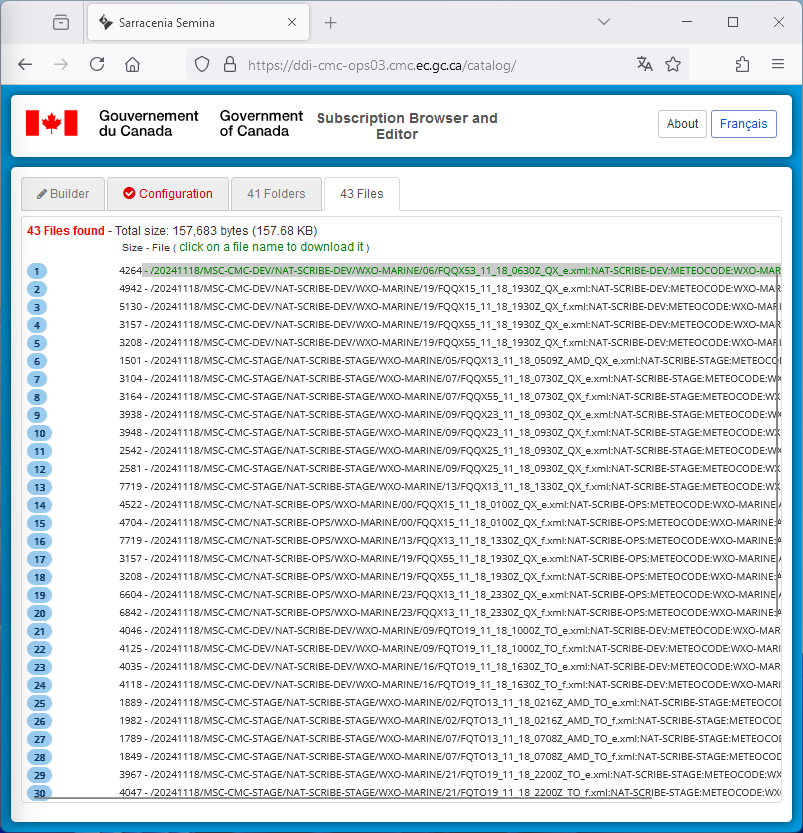
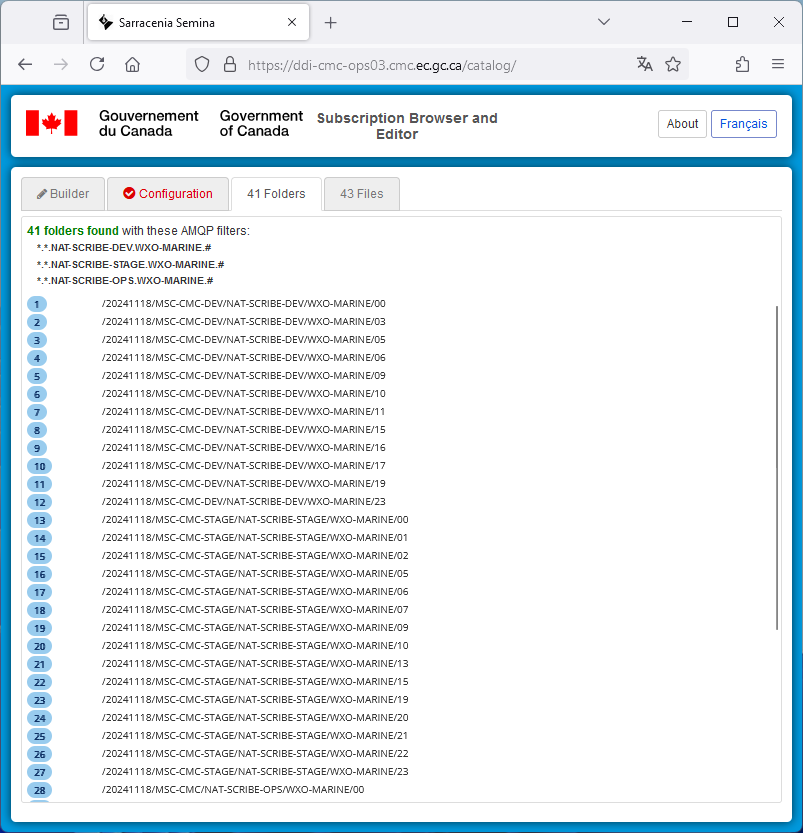
The “ Files ” tab displays the list of files found by the search.
Hovering over the list brings each file is highlighted one after another.
Clicking on a particular file will download it.